Find yourself reaching for leftover Easter eggs in the back of the pantry? Hands-off the sh*tty chocolate, mama. This recipe for brownies is wayyy better.
By Rich Meyers
In my opinion brownies should NOT be cakey. Cakey consistencies are reserved for cakes. Brownies should be dense, fudgy and incredibly rich.
Some ‘bakers’ try to fake it, by essentially serving underbaked brownies, and passing them off as ‘gooey’. They’re charlatans, and you shouldn’t listen to them.
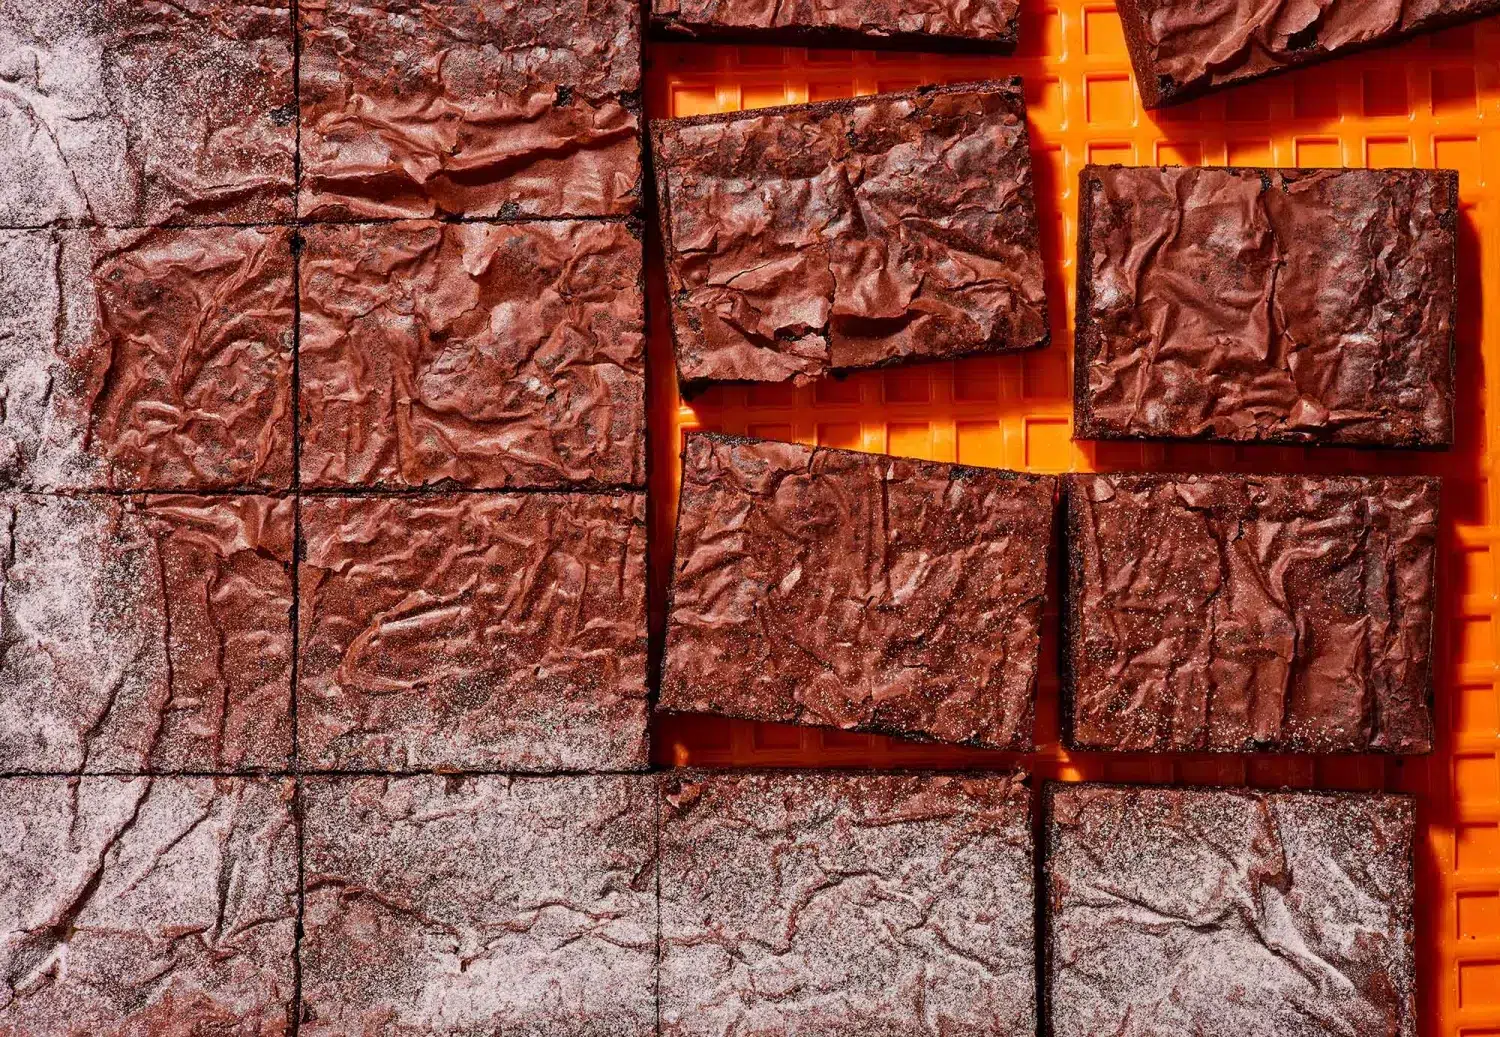
If, after a few minutes in the oven, you notice a very thin, paper-like layer forming on top of your brownies, then congratulations, you’ve nailed it. If you don’t, you’ve done something wrong along the way.
I’m not a charlatan. I’m just a young boy from West Yorkshire trying to help you on your path to baking delicious stuff.
O.G. brownies [the original and the best]
MAKES
10–16 slices, depends how big you want ’em
INGREDIENTS
750g (1lb 10oz) caster (superfine) sugar
300g (10½oz) light brown sugar
520g (1lb 2½oz) 55% dark chocolate
520g (1lb 2½oz) unsalted butter, plus extra for greasing
460g (1lb ¼oz) eggs
380g (13½oz) plain (all-purpose) flour, sifted
140g (5oz) cocoa powder, sifted
5g (⅛oz) sea salt
icing (powdered) sugar, for dusting (optional)
METHOD
- Preheat your oven to 160°C (320°F/gas 3).
- Put the sugars in the bowl of a stand mixer fitted with the balloon whisk attachment and set to one side while you melt the chocolate and butter together in a medium heavy-bottomed saucepan over a medium heat (if your chocolate is in bar form, chop the pieces first so that they melt more easily). You’re going to need to stir often. If you don’t stir it, and the chocolate catches at the bottom of the pan, your mixture is going to go grainy and the chocolate will taste bitter. There’s really no way back from this, so don’t let it happen.
- While the mixture is melting, add your eggs to the sugars and mix on high speed for a few minutes, or until the mixture looks pale and airy. As soon as the mixture has reached this consistency, turn the mixer down to the lowest speed and wait for your chocolate mixture to finish emulsifying.
- When the chocolate mixture looks glossy and there are no lumps, pour it directly into the sugar and eggs and continue to mix on low speed until everything has combined. At this point you’ll need to scrape down the bottom and sides of the mixer bowl because there’ll be some sugar stuck to it, and if you don’t combine it at this stage, you’ll get crunchy bits of sugar in your brownies, which isn’t the worst thing to have ever happened in your life, but it’s a pretty close second.
- Remove the bowl from the stand mixer and add the flour, cocoa powder and salt. Fold them in using a spatula or wooden spoon, just until you can no longer see the dry ingredients. It’s crucial that you don’t overmix the flour, or you’ll end up with a cakey brownie, which is my idea of hell on earth.
- Shmear a 30 x 40cm (12 x 16in) rectangular cake tin with a generous helping of butter and line with baking parchment. It helps if you leave some excess baking parchment on two sides of the tin (roughly 5cm/2in above the edge of the tin) so you can pull the brownies out easily once they’re cooked. Pour your brownie batter into the tin. Our recipe results in a particularly thick brownie batter, so you’ll need to use a small offset palette knife or the back of a spoon to spread the mixture evenly across the tin.
- Bake your brownie mixture in the oven for 25 minutes. It should still be gooey, and a toothpick inserted into the mixture should come out pretty filthy. If it comes out clean, you’ve overbaked and your brownies won’t be as fudgy. They’ll still be pretty good, but you’ve essentially failed.
- Remove the tin from the oven and set it to one side until it’s at room temperature – about 30 minutes should do it. Then bang it into the fridge for at least 8 hours, ideally overnight. Setting in the fridge is absolutely crucial if you want to achieve the dense, fudgy brownie that we’re known for. Once chilled, remove from the fridge and top with a generous helping of sifted icing (powdered) sugar. This is optional, but it’s true to how we serve our O.G. Brownie.
- Remove the slab from the tin and slice into brownies, as big or small as you want, I honestly don’t care. They’re pretty rich though, so you can slice smaller than you probably think is necessary. I recommend using a sharp, non-serrated cook’s knife; you won’t get a clean finish using a serrated knife. If you want to go all out, run the knife under the hot tap and then dry it off before slicing and clean the knife with warm water and a clean cloth in between each slice. Do this and your brownies will look utterly sensational.
- Once sliced, they’ll keep for up to 7 days in an airtight container. And it’s up to you whether or not you keep them in the fridge. At GET BAKED®, we serve them cold, straight from the fridge. Because I really like them that way, but it’s your rodeo. They also freeze incredibly well, and will be good for up to a month.

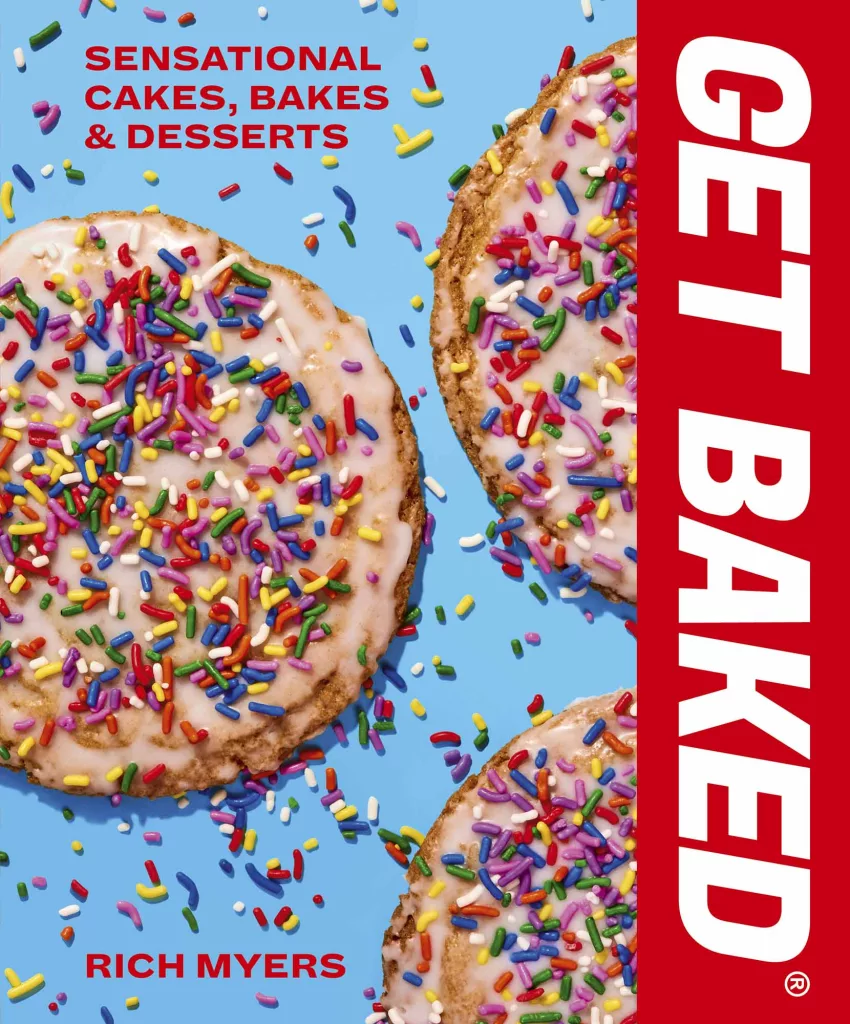
O.G. brownies recipe: Images and text from Get Baked by Rich Meyers, photography by Ellis Parrinder. White Lion Publishing RRP $29.99.


